
Ditch Your VPN: Build a Zero-Packet-Loss Private Tunnel to Your Home Network
You’re sitting in a hotel halfway across the world, staring at a frozen terminal. You hit Enter on a simple SSH command, and the cursor just blinks at you. Five minutes later: Operation timed out. You fire up your corporate VPN, try again, and now your API calls are failing because of geo-blocking.
Let’s be real: commercial VPNs are not meant for developers. They are a maintenance nightmare, their IPs are flagged by every firewall on the planet, and the packet loss over standard international routing will destroy your workflow.
Here’s the deal. We’re going to build a rock-solid, anti-blocking bridge. We’ll use a premium VPS to catch your traffic on a VIP internet lane, and punch a hole straight to a Raspberry Pi sitting in your living room. No frozen terminals. No geo-blocks. Just raw, unthrottled access to your home network.
The Deep Dive: Why Standard VPNs Fail
If you just deploy WireGuard or OpenVPN on a random cloud server, deep packet inspection (DPI) in heavily censored regions will flag and throttle your connection within hours.
To beat this, we need two things:
- Premium Routing (AS9929/AS10099): This is the physical layer. Instead of bouncing through congested public network nodes, you buy a VPS that sits on an elite, low-latency enterprise cable.
- VLESS-Reality: This is the disguise. Instead of looking like proxy traffic, VLESS-Reality makes your connection look exactly like standard HTTPS traffic hitting a major site (like iCloud or Windows Update). The firewall just sees a guy syncing his calendar, not a developer tunneling into a private network.
Let’s build it.
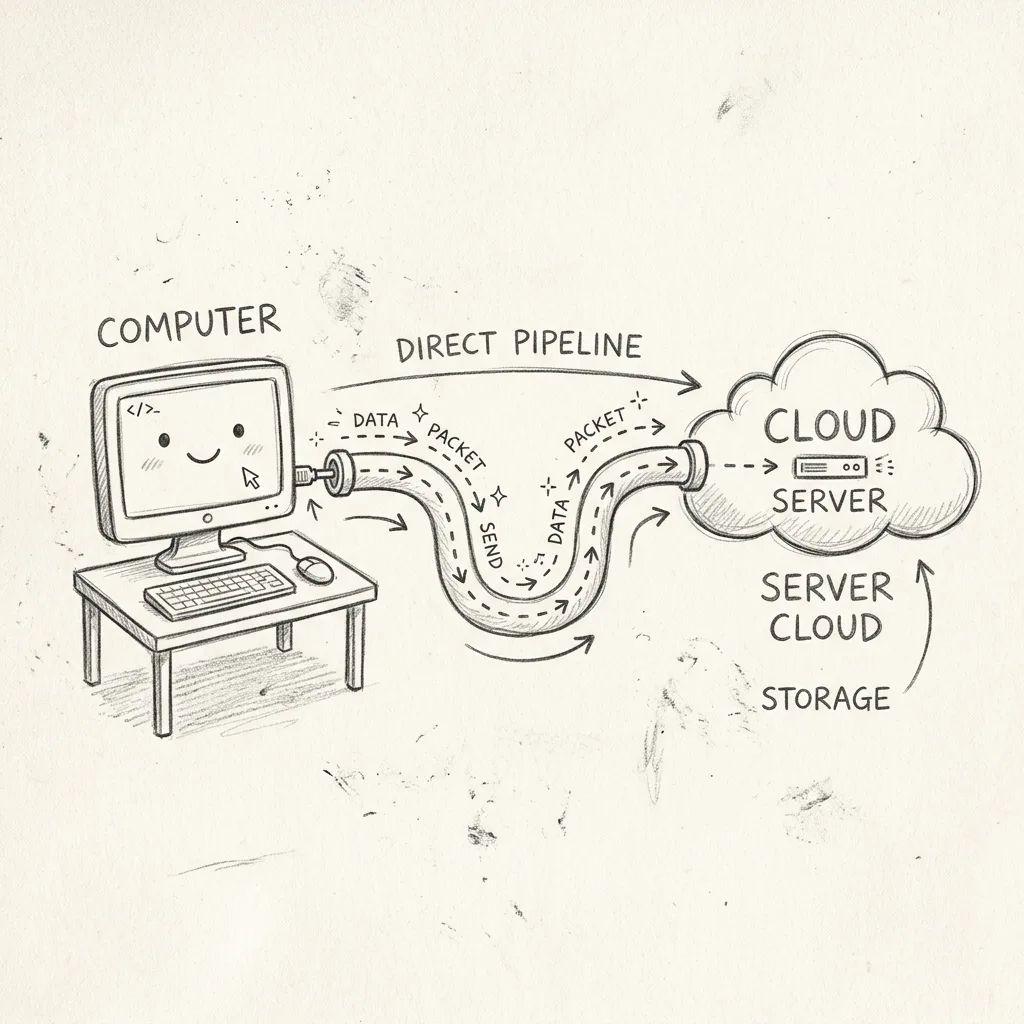
Phase 1: Grab Your Elite Relay (SaltyFish VPS)
To build a zero-packet-loss bridge, you need a VPS that sits on a "VIP lane" of the internet. We’re using SaltyFish as our example because they specialize in premium enterprise routing (AS9929 and AS10099) which is essential for beating international congestion.
1. Registration
Go to portal.saltyfish.io and register an account. Use a real email address as you'll need it for server credentials and billing.
2. Picking the Right Package
Login and go to Services -> Order New Services.
- Location: Look for "San Jose - Premium" or "Frankfurt - Premium".
- Network: Ensure the description mentions AS9929 or AS10099. This is the secret sauce. Standard "BGP" routes will not give you the same stability.
- Specs: The smallest 1vCPU / 1GB RAM plan is more than enough for a network tunnel.
3. Checkout
Choose Debian 12 as your OS. Set a strong root password. Complete the payment. Once the status turns "Active," copy your Server IP Address.
Phase 2: Deploy the Cloud Bridge (VPS)
The VPS acts as our stable relay station. It catches our traffic on that premium cable and forwards it to our home.
Open your terminal, SSH into your new SaltyFish VPS and get Docker running. It’s dead simple:
# login VPS and enter password
ssh root@[IP_ADDRESS]
Update your system and install Docker using the official script:
# Update packages and install prerequisites
apt update && apt install -y ufw curl wget nano

# Pull the official Docker installation script
curl -fsSL https://get.docker.com | sh

# Enable and start the Docker daemon
systemctl enable docker && systemctl start docker
Next, lock down the firewall. We only need ports 443 (for your client) and 7000 (for the Pi).
ufw allow ssh
ufw allow 7000/tcp
ufw allow 443/tcp
ufw --force enable
Now, we deploy the FRP server (frps). This handles the reverse proxy magic so we don’t have to mess with your home router's port forwarding.
mkdir -p /root/frp && cd /root/frp

# Create the config file BEFORE running Docker
nano frps.toml
Pro-tip: Do NOT skip creating the
frps.tomlfile before running the Docker command. If you pass a non-existent file to a Docker volume mount, Docker will assume it’s a directory and create a folder namedfrps.toml. You'll get a nastyOCI runtime create failederror and have torm -rfit. Save yourself the headache.
Paste this into frps.toml:
# VPS (e.g. Saltyfish VPS) config
serverAddr = "Your_VPS_Public_IP"
# The port your Raspberry Pi will connect to
bindPort = 7000
# Change this to something you won't guess
auth.token = "YOUR_SUPER_SECRET_PASSWORD"

[[proxies]]
name = "xray-reality"
type = "tcp"
localIP = "127.0.0.1"
localPort = 8443
remotePort = 443
Spin it up:
docker run -d --name frps --restart=always \
  --network host \
  -v /root/frp/frps.toml:/etc/frp/frps.toml \
  snowdreamtech/frps
Phase 3: Lock Down the Home Base (Raspberry Pi)
Now we leave the cloud and head home. We need to prepare your Raspberry Pi to act as the terminal for our secure tunnel.
3.1 Verify Connectivity
Before you try to log in, make sure your Pi is alive on your local network. Find its IP address (usually via your router's admin page) and give it a ping:
ping YOUR-PI-IP # or use the IP directly
If you see 0.0% packet loss, you're good to go.
3.2 SSH into the Pi
Open your terminal and jump into the Pi. If this is your first time connecting, you'll see a warning about "authenticity of host." Type yes to add it to your known_hosts.
ssh your_username@YOUR-PI-IP # use your local ip address, or the hostname of your Raspberry Pi.
3.3 The "Command Not Found" Trap
Many developers try to run Docker commands immediately and get hit with -bash: docker: command not found. Don't panic—it just means Docker isn't installed yet.
Run the official convenience script to get the engine running:
curl -fsSL https://get.docker.com | sudo sh
3.4 Permission Management
By default, Docker requires root privileges. To avoid typing sudo every five seconds, add your user to the docker group:
# Replace $USER with your actual username
sudo usermod -aG docker $USER
newgrp docker
3.5 Deploying the 3X-UI Control Panel
Now we deploy the brain of our operation. This panel will manage our VLESS-Reality credentials.
docker run -itd \
   -p 2053:2053 \
   -p 8443:8443 \
   --name 3x-ui \
   --restart=always \
   ghcr.io/mhsanaei/3x-ui:latest
3.6 Hooking up the FRP Client
Finally, we need to connect the Pi back to the Cloud Bridge (VPS).
Pro-tip on Paths: Do not use hardcoded paths like
/home/pi/frp. Depending on your setup, your home directory might be named after your user (e.g.,/home/elvisli). Always use~/to refer to your home folder.
mkdir -p ~/frp && cd ~/frp
nano frpc.toml
Paste your config (matching the token from your VPS):
serverAddr = "YOUR_VPS_PUBLIC_IP"
serverPort = 7000
auth.token = "YOUR_SUPER_SECRET_PASSWORD"

[[proxies]]
name = "xray-reality"
type = "tcp"
localIP = "127.0.0.1"
localPort = 8443
remotePort = 443
Watch out for "Paste Garbage": If you see ^[[200~ appear in your terminal, it's a sign of "bracketed paste mode" gone wrong. It often happens when copying from a browser to a terminal. Just backspace and delete those extra characters before running your command.
Launch the tunnel client:
docker run -d --name frpc --restart=always \
  --network host \
  -v ~/frp/frpc.toml:/etc/frp/frpc.toml \
  snowdreamtech/frpc
The physical tunnel is now established. Your home Pi is now "visible" to your Cloud VPS.
Phase 4: Configure the VLESS-Reality Cloak
Hop on a browser on your local network and go to http://YOUR_PI_LOCAL_IP:2053. Log in with admin / admin.
- Go to Inbounds -> Add Inbound.
- Set Protocol to vless, Port to 8443.
- Set Flow to xtls-rprx-vision.
- Set Security to reality.
- Set uTLS to chrome and Dest/Server Names to www.icloud.com:443. (This makes our tunnel look identical to Apple cloud sync traffic).
- Click Get New Keys and Generate (for ShortIds).
- Save it.
Click the QR code icon next to your new rule and hit Copy Link. You'll get a messy string starting with vless://....
Phase 5: Client Setup (Shadowrocket for iPhone & Mac)
Now that the tunnel is running from your Pi to the VPS, we need to connect your phone.
5.1 Exporting the Node
- Access your 3X-UI panel.
- Click the three dots (menu) on your VLESS inbound.
- Select "Export All URLs". This copies the
vless://link to your clipboard.
5.2 Importing to Shadowrocket
- Open Shadowrocket on your iPhone.
- It should automatically detect the link in your clipboard and ask to add it. Click Add.
- If no popup appears, click the + icon, set Type to URI, and paste the link.
5.3 The Bridge Configuration
This is the most critical step. By default, the node points to your Pi's local IP. We need to redirect it to our Cloud Bridge.
- Tap the (i) icon next to the new node.
- Address: Delete the local IP and enter your SaltyFish VPS Public IP.
- Port: Change it to 443.
- Type: Ensure it says VLESS.
- Click Save.
5.4 Ignition Test
To prove the architecture works from the outside world:
- Turn off Wi-Fi. Ensure you are using Cellular Data (5G/LTE).
- In Shadowrocket, select your node (a small orange dot will appear).
- Toggle the main switch to Connected.
- Visit
google.com. If it loads, you have successfully tunneled into your home network from the public internet.
Phase 6: macOS Developer Setup
For a developer, simply having a browser proxy isn't enough. We need our entire workstation to respect the tunnel.
6.1 Installation
If you have an Apple Silicon Mac (M1/M2/M3), you can install the macOS version of Shadowrocket directly from the Mac App Store. It is much more efficient than using third-party wrappers.
6.2 Terminal Proxy
macOS terminal apps (Git, npm, curl) usually ignore system VPN settings. We need to manually "wire" them.
-
Check Local Port: In Shadowrocket Mac, go to Settings -> Proxy. Note the HTTP/SOCKS5 port (usually
1082). -
Immediate Proxy: Run this in your terminal to proxy the current session:
export http_proxy=http://127.0.0.1:1082
export https_proxy=http://127.0.0.1:1082
Test it: curl -I https://www.google.com. If you see HTTP/2 200, it's working.
Persistent Aliases: Add these to your ~/.zshrc for an elegant workflow:
# Toggle proxy on
alias proxy="export http_proxy=http://127.0.0.1:1082; export https_proxy=http://127.0.0.1:1082; echo 'Terminal Proxy ON'"
# Toggle proxy off
alias unproxy="unset http_proxy https_proxy; echo 'Terminal Proxy OFF'"
Run source ~/.zshrc. Now you just type proxy to go dark.
Phase 7: Git SSH Proxy
This is the "trap" most developers fall into. If you use SSH keys for GitHub (git clone git@github.com...), it ignores http_proxy entirely because it uses the SSH protocol.
To fix this, we must configure the SSH client itself to use our local tunnel.
- Edit your SSH config:
nano ~/.ssh/config. - Add this block at the top:
Host github.com
    HostName github.com
    User git
    # Force GitHub SSH traffic through Shadowrocket's SOCKS5 port
    ProxyCommand nc -X 5 -x 127.0.0.1:1082 %h %p
git push commands will fly through your private tunnel, no matter where you are.The Bottom Line
You are no longer at the mercy of public Wi-Fi or commercial VPN blocks. You have a private, enterprise-grade routing lane that connects your remote workstation directly to your home base.
Stay secure. Stay fast. Happy coding.
Thanks for reading! Did you find this helpful?
Get in touch